Fresh flowers make beautiful decorations, but you only get to enjoy them for a short time before they start to wilt. This is especially sad if the bouquet is from a special occasion that you want to remember. With this easy DIY, you’ll be able to preserve your favourite flowers and all the memories that go with them in an inexpensive way. ????

The only things you’ll need for this DIY are:
- Fresh, unblemished flowers
- Heavy books
- Absorbent paper (parchment, thin carboard, coffee filters)
- Clear frame
Step 1: Line your Pages ????
To start, simply line the pages of a book with your absorbent paper.
TIP: You may want to put the flower right inside the front cover, in case of any water leakage, or double up on paper.
Step 2: Prep your Petals ????
Next, pick the petals you’re going to use, then prepare them to be pressed. This can include removing the stems, cutting thick blooms in half, or separating the petals like Natasha did.
TIP: Do this before the flowers wilt, as pressed fresh flowers hold their vibrant colour much better than old flowers and won’t go brown.

Step 3: Flatten your Flowers ????
Place the flowers or flower petals between the sheets of paper you prepared in the book. Carefully close the cover of your book, add weight to the top of the book to make the press more effective – this can be in the form of more books, rocks, or any heavy objects you have lying around!
Step 4: Practice your Patience ⌚
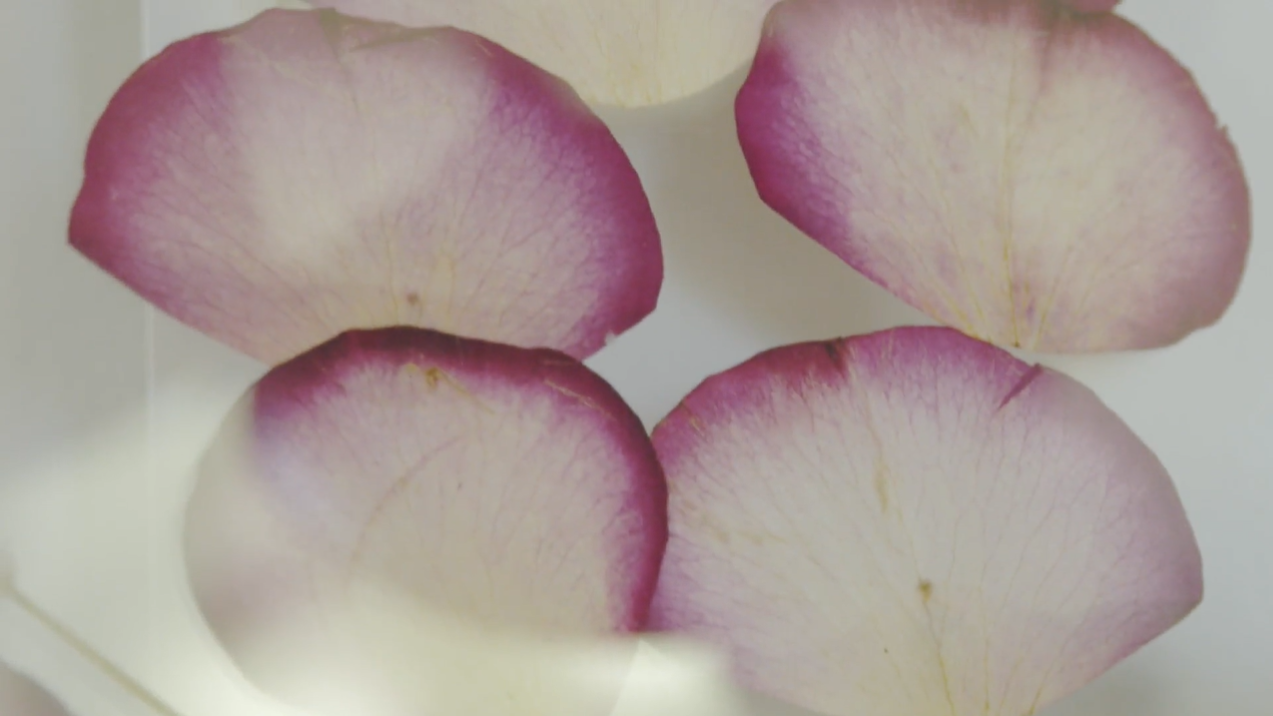
While pressing flowers is by no means a labour-intensive process, they do take a fair amount of time to dry. Typically, it can take around 2-3 weeks for the flowers to lose all their moisture. Check your flowers after a couple weeks – if they’re dry, they should have a stiff, papery texture.

Step 5: Arrange your Artwork ????
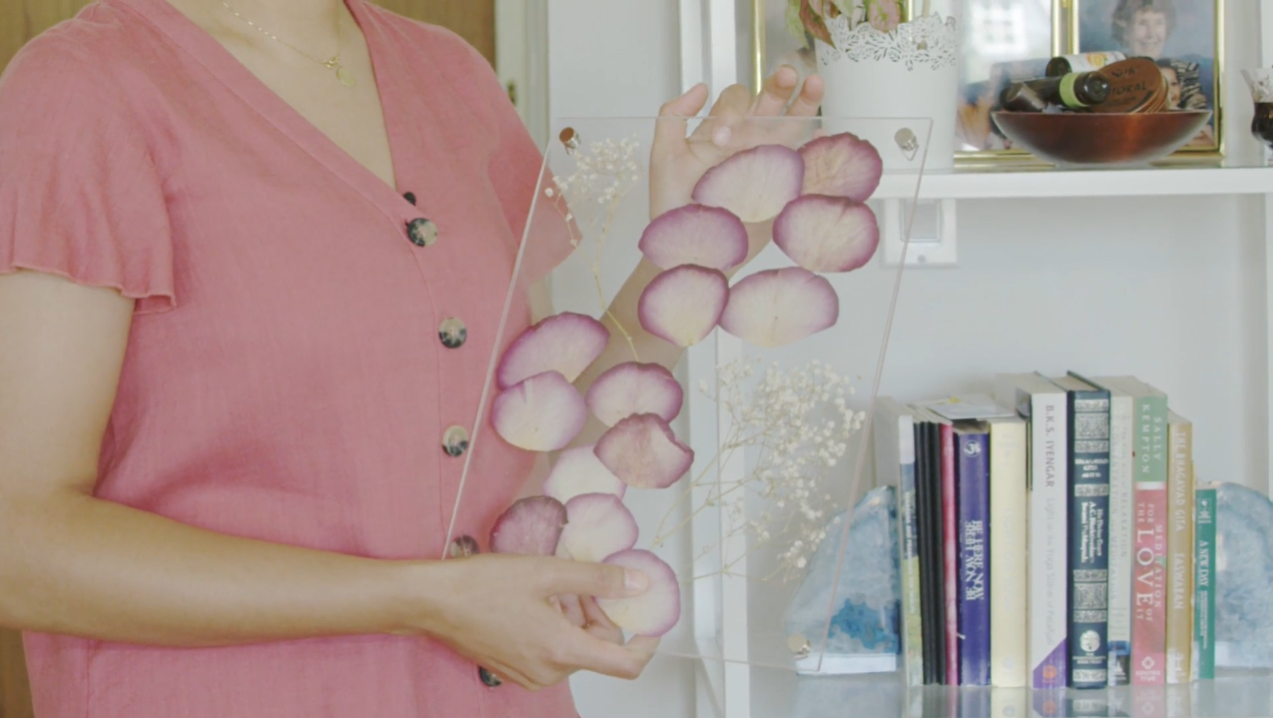
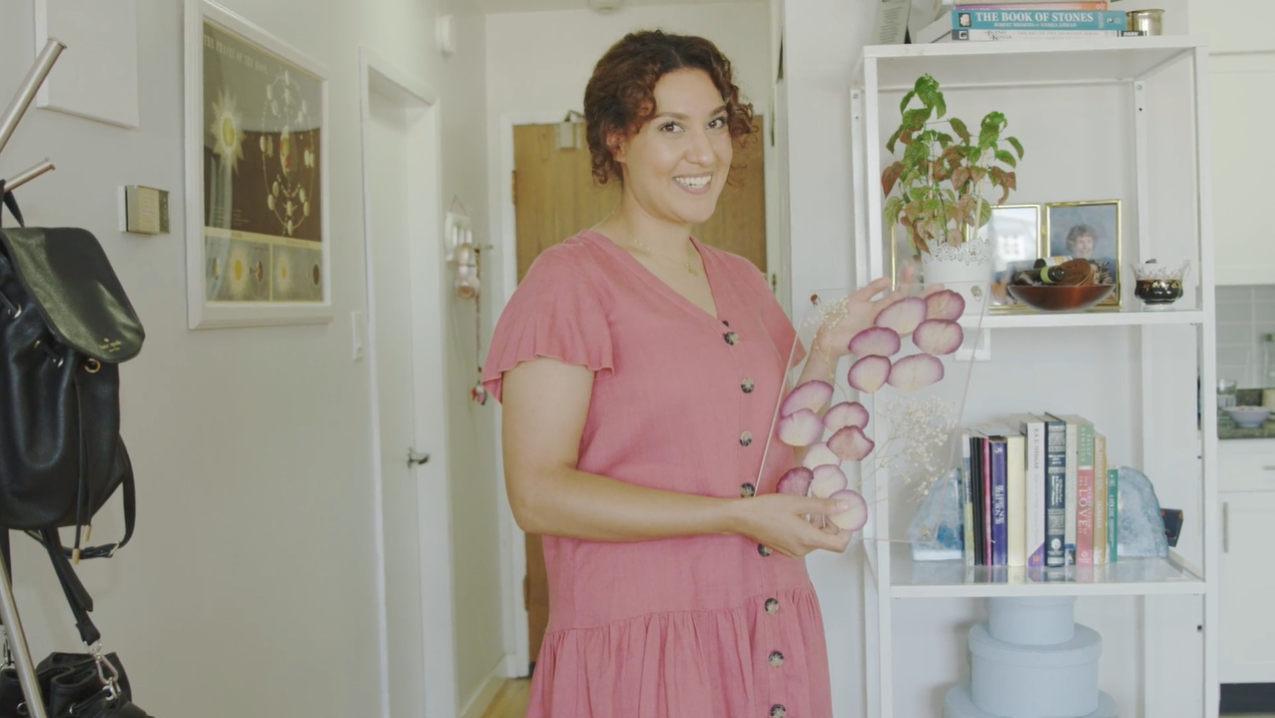
Once the flowers are dry, it’s time for the fun part – creating your display! Natasha recommends using a translucent frame like this one, as the light shining through the delicate, almost translucent petals has a stunning effect. You can find a more inexpensive option here.
Though it’s not instantaneous, this easy DIY can have some beautiful results. Try switching it up by incorporating leaves and other greenery as well!
For more information, watch as Natasha explains her process of creating this DIY.
If you try this easy flower pressing DIY, we would love to see it! Show off your floral masterpiece and tag us using #MyHollyburn on Instagram, Twitter, or Facebook.
 Looking for an apartment for rent? Sign up to receive project updates, new, and exclusive insights about our rentals.